Sunday, May 4, 2014

A Very Special Shower

It's very hard to believe that over half my life ago I met Ashley, a crazy, loud, outgoing, super friendly girl who was a pitcher on a softball team I began to play on.  Years went by and (through a little high school drama) we remained friends, became coaches together and eventually co-workers. 
When Ashley shared with me a few years ago that she and her fantastic husband were trying to start a family, I promised her a big ole baby shower.  Unfortunately that shower didn't come as soon as we all would have wanted it to which is what made this day so special.  Ashley and Adam went through more heartache than most people could ever dream of handling, and both did it with their heads high and a positive attitude. 
So now, it was my absolute pleasure to give their brand new family the party they deserve!  Love you AO's and can't wait to snuggle on that little baby boy!  You two will be the greatest parents ever and I'm so happy for your party of 3!  This new little addition is the answer to many, many, many prayers!

When I started planning what my husband called "the shower of the year", I went with the color scheme of grey, blue (the nursery colors), teal and a dark lime green.  I also thought I would go with the ever-popular rustic look including burlap, mason jars and comfort food.
 mason jars filled with homemade strawberry lemonade and fruit infused water
 wooden cutlery with scrap paper "napkin rings" and burlap string
 pie fries in paper cones with fruit dipping sauce
 
  buckeye cookies and lemon tea cookies
ombre cake
mini chicken and waffles
mini macaroni and cheese cups
brown sugar and bacon wrapped smokies
The "guest book" was a framed picture for guests to put their finger print to make a balloon bouquet carrying a little baby bundle.  Super cute.
 The mommy-to-be and I opted out of shower games, so instead I decided to have guests fill out cards for all the wishes for Ashley's new little guy.
 

Monday, March 17, 2014

Hippity Hoppity Easter is on it's Way!

Isn't Pinterest a delight?  Who knew a website could make such a positive influence in your life?  The fashion, the activities, the recipes, the vacation ideas, the décor!  I have never been an Easter decorator, but thanks to my beloved Pinterest, I now have some fab ideas.

 Bunny Bunting (here). This pin is actually for a table runner.  I changed mine into bunting by:
1.  Printing and my stencil, gluing it onto a piece of cardstock, cutting out the bunny and using that to cut my flags.
2.  Cut the flags out of burlap.  To keep them from fraying, I put Elmer's glue around the edges.
3.  Place the flags on top of newspaper and use craft paint to stencil on the bunnies.  I used that 99 cent stuff from Hobby Lobby.
4.  Let it dry and string it up.  Done and done.

 Peter Cottontail Printable (here)
Hip Hop Printable (here) The pin on Pinterest doesn't work so I just Googled it.  Problem solving.
This would be an Anne original.  Try to stay standing.  I know it's insanely beautiful and ornate. 

Chocolate Chunk Blondies


There are not many things I love more than a brownie or blondie.  Except for maybe a cupcake.  These little beauties have quickly made it to the top of my favorite dessert list.  They're insane and guaranteed to fill your tummy with happiness.  Best part?  They are really very simple.  You can basically throw all the ingredients in a mixer and bake.  Nom nom.

Ingredients:
1 1/2  sticks softened unsalted butter
1 cup packed light brown sugar
1/2 cup sugar
2 teaspoons vanilla bean paste
2 extra-large eggs, at room temperature
2 cups all-purpose flour
1 teaspoon baking soda
1 teaspoon kosher salt
1 1/2 cups chopped walnuts
1 1/4 pounds semisweet chunks (Nestlé's)
 
Directions:
1.  Preheat the oven to 350 degrees.
2.  Line a 13x9 inch baking pan with parchment paper.  I used Reynolds Non-Stick Pan Lining Paper.  It's amazing.  I hate it when parchment rolls up and won't stay in the pan.  This pan lining paper has foil on one side and parchment on the other so it stays in place.  Worth the purchase!
3.  In the bowl of an electric mixer fitted with the paddle attachment, cream the butter, brown sugar, and sugar on high speed for 3 minutes, until light and fluffy.
4.  With the mixer on low, add the vanilla, then the eggs, one at a time, and mix well, scraping down the bowl.
5.  In a small bowl, sift together the flour, baking soda and salt and with the mixer still on low, slowly add flour mixture to the butter mixture. Fold the walnuts and chocolate chunks in with a rubber spatula.
6.  Spread the batter into the prepared pan and smooth the top. Bake for 30-40 minutes or until they are golden brown and a toothpick comes out clean.  Cool completely in the pan and cut into bars.
Here you can see my new love that is pan lining paper.

Friday, March 14, 2014

Mini Pancake Muffins

Meet my son's new favorite meal.  I would venture to guess he has downed 48 of these in the last 5 days.  No exaggeration.  I first had the idea for pancake muffins from Baked Bree years ago.  For the recipe click here.  I loved the idea of being able to actually sit with my family and eat pancakes rather than serve them and eat whatever batter was left when they were finished.  I made these so many times that I pretty much got sick of them and haven't made them for about two years.  However, I tried these new and improved mini version that don't include the ever-so-wonderful sugary glaze and my son flipped out.  He has asked for them every meal for the last week.  Hope your family loves them as much as mine.

 Ingredients:
 3 cups All-purpose Flour
1 Tablespoon Baking Powder
4 Tablespoons Brown Sugar
3/4 teaspoons Salt
2 1/2 cups Milk (Don't use buttermilk.  Your muffins will be too bitter.)
1 Tablespoon White Vinegar
2 whole Eggs
1 Tablespoon Vanilla Bean Paste
4 Tablespoons Butter, Melted
Blueberries
 Syrup, For Serving
 
Directions:
  1. Preheat the oven to 425 degrees.
  2. Mix together flour, baking powder, brown sugar, and salt. Set aside.
  3. Stir together the milk and vinegar and let it sit for 1 minute. Whisk in eggs and vanilla bean paste.
  4. Combine dry ingredients and wet ingredients, then stir in melted butter.
  5. Spray a mini-muffin pan generously with baking spray. Fill cups 2/3 full.  Drop 2 to 3 blueberries into each cup.
  6. Bake for 8 to 9 minutes, or until golden brown on top. Let sit in the pan for 1 to 2 minutes, then turn them out of the pan.
  7. Serve warm with warm syrup.


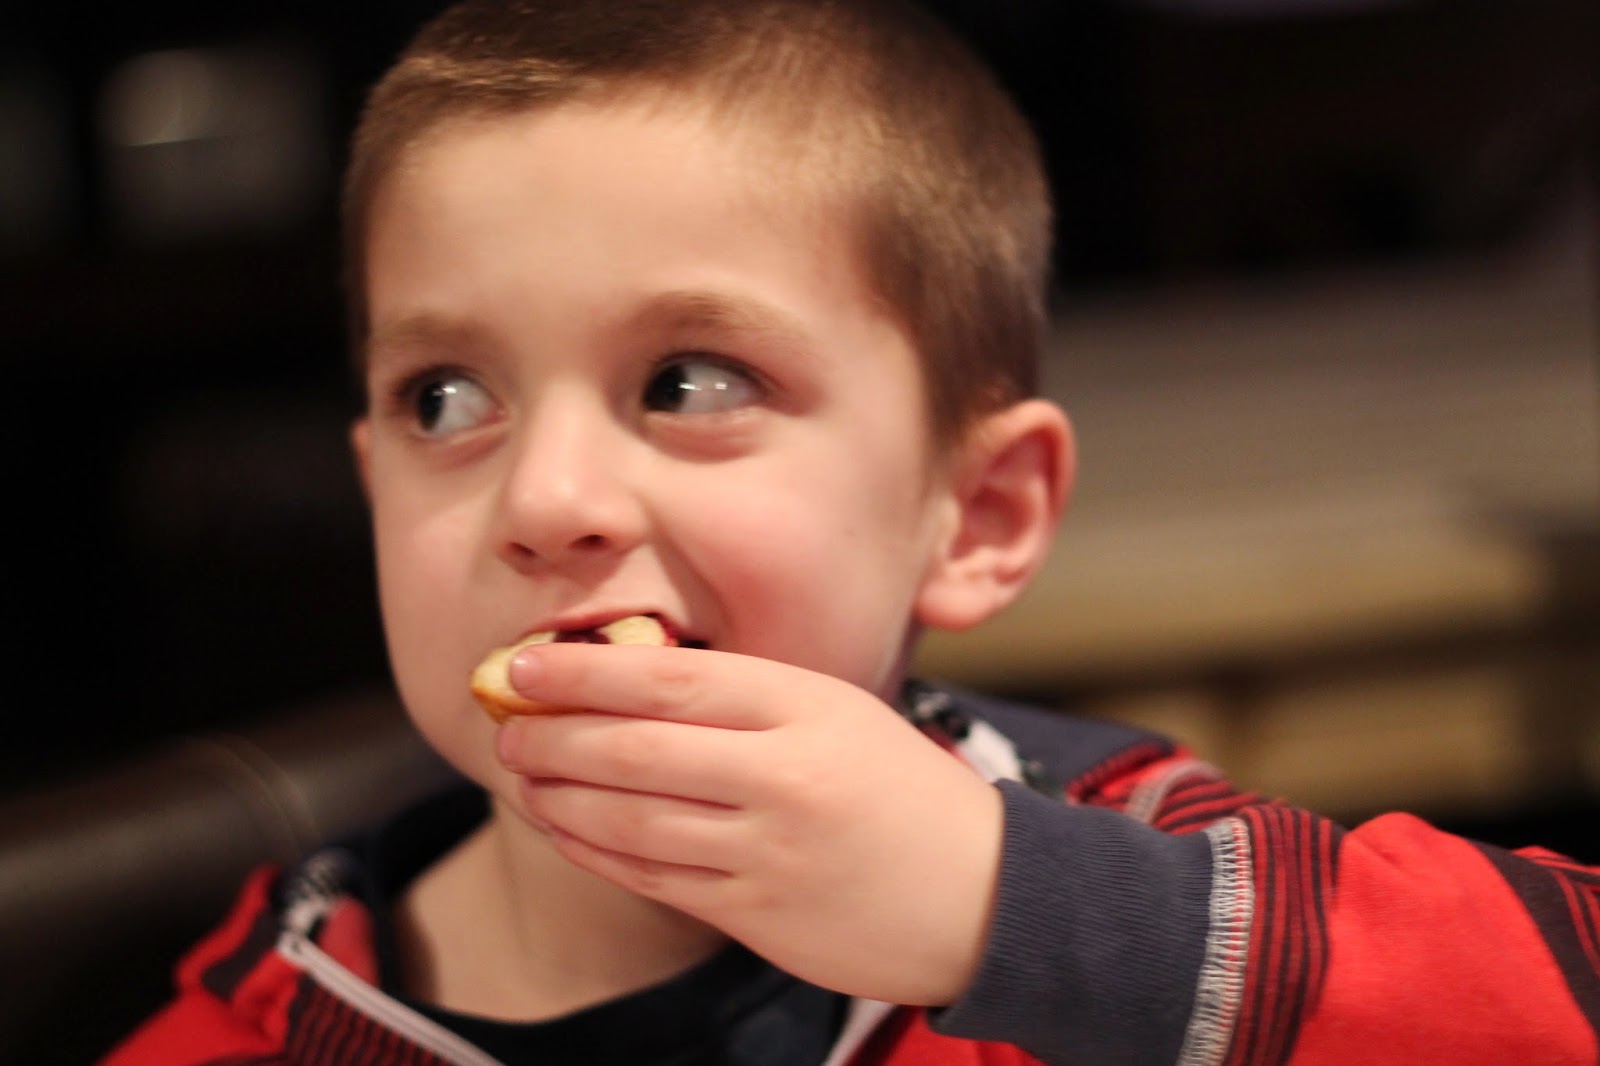
Tiny Taste Tester


The Perfect Pesto


Ingredients:
 
1 1/4 cups of freshly grated Parmesan cheese (see directions)
2 tablespoons minced garlic (see directions)
1/2 cup pine nuts
3 cups basil leaves (packed)
1/2 teaspoon salt
1/2 teaspoon freshly ground pepper
1 1/2 cups olive oil
 
 
Directions:
 Here's a little trick for Parmesan cheese.  First of all, I ALWAYS (okay, like 95% of the time) grate my own cheese.  When cheese comes in a package pre-grated, it has a corn starch coating on it.  It keeps the cheese from sticking together in the bag.  The cornstarch makes the cheese a little drier and harder to melt.  Grate yourself.  Thank me later.
1. To grate your cheese the easy way, chop it into chunks and throw it in the food processor.  This takes the leg work out and grates it finer than you can.  Yep, you're welcome.
2.  Throw in your pine nuts and garlic.  Again, let the food processor do the work.  You only need to take the skin off the garlic.  The processor will mince it for you.  Pulse until pureed.
3.  Throw in your basil leaves.  Pulse until combined.
4.  Turn the processor on and begin to slowly add the olive oil until you have a nice liquid.
5.  Season with salt and pepper.
6.  Save for later or add to your favorite Italian dish.

Saturday, February 22, 2014

Blueberry Streusel Muffins

Growing up we made a lot of boxed blueberry muffins.  You may know them.  They look a little like this:
I was a pretty big fan of eating the streusel right out of the little pre-packaged bag it came in.  So gross and so good at the same time.
 
It wasn't until after college that I realized how easy it was to make fresh, non processed blueberry muffins.  Great little weekend breakfast.  Enjoy!
 
Blueberry Streusel Muffins
 
Blueberry Muffins
3/4 cup milk
1/4 cup vegetable oil
1 large egg
2 cups all-purpose flour
1/2 cup sugar
2 teaspoons baking powder
1/2 cup fresh blueberries (take the time and spend the extra money for fresh and not canned.  It makes a difference)
 
1. Heat oven to 400 degrees.  Grease bottoms of 12 medium muffin cups with shortening.  You can use paper cups as well, but if you're going to go for it, go for it and use shortening.
2. Make Streusel Topping and set aside.
3. Beat milk, oil and egg in a large bowl with a  whisk.  Stir in flour, sugar, baking powder and salt.  Mix until the batter is just moistened.  Fold in blueberries.  Use a 1/4 dry measuring cup to distribute batter evenly among muffin cups. 
4. Sprinkle each muffin with about 1 1/2 tablespoons of streusel and press streusel down into the muffin so it doesn't fall off while baking.
5. Bake 20-25 mintes or until golden brown.   Let stand in pan for 5-10 minutes and then place on a cooling rack.
 
Streusel Topping
1/4 cup all-purpose flour
1/3up packed brown sugar
1/2 teaspoon cinnamon
3 tablespoons firm butter